
Say goodbye to crappy audio quality
in your video projects.
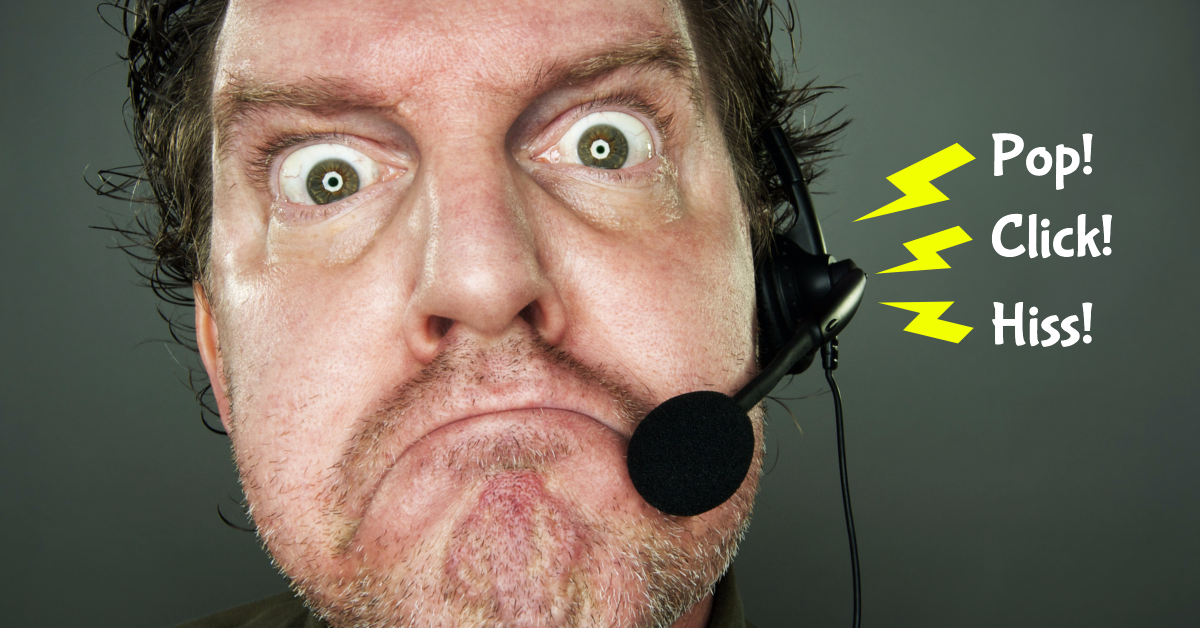
Your video is NOT going to be compelling if its narration
sounds like it was recorded with a tin can and string.
Whenever I suggest to a client or customer that perhaps they’d benefit from taking their audio quality up a notch or three, this is what I usually hear:
“Sounds great, but we don’t have thousands of dollars in the budget, nor room in our office, for a dedicated studio space.”
People seem to think you need some glorious, gilded, hermetically sealed booth in which to record your stuff, along with a gold-plated bespoke microphone and a mixing board the size of your dining room table. Not of that is true.
And it’s frustrating because audio quality is so often the hissy, staticky weak link in an otherwise impeccable video. The silver lining here is that these things are easy to correct. Some slight adjustments to your recording and editing technique, along with basic soundproofing measures and a decent mic, can mean the difference between a ravenous fan base and being perpetually blown off as an amateur.
And in the grand scheme of things, it’s really cheap. Between the equipment and the education you’ll need to get things set up correctly, you’re probably looking at a maximum investment of $250. In fact, if you go much over that, you’ll likely end up with some seriously diminishing returns.
Now, I put a course together called Video Narration Wizardry. It is laser-focused on getting the very best audio quality on your video narration. And it covers the three basic components of quality sound recording:
- Audio equipment basics
- Prepping your recording environment
- Recording/editing technique
This is what you’ll learn in each of its nine lessons:
Lesson 1 – Choosing a Microphone. We’ll discuss microphone types, and learn about the four basic qualities of a mic, specifically its pickup pattern, frequency range, resolution, and sample rate. I’ll also tell you the best places to shop online, and will have specific mic suggestions for you.
Lesson 2 – Miking Your Camera Video. Bonus lesson! We’ll look at the pros and cons of using camera-mounted, boom, and lavelier miking systems. I’ll show you the two units that earned a place in my own kit bag, and give you real-world examples of their use.
Lesson 3 – Preamps, Audio Interfaces, and Mic Accessories. In this lesson, we’ll discuss the rest of your audio equipment chain, including preamps and audio interfaces. I’ll also give you the lowdown on all the accessories you’ll need to complete your setup, including your stand, shock mount, pop filter, headphones, and cabling.
Lesson 4 – Vocal Processors. Bonus lesson! In this lesson, we’ll take a look at manipulating what our microphone hears, with a special piece of hardware called a vocal processor. Radio DJs have been using them for decades to lend a warmth and presence to their voices, and if you want, you can do the same for a couple hundred bucks. I’ll also give you a full tour of my own Symetrix 528e.
Lesson 5 – Acoustic Treatment. Up to now, we’ve been talking specifically about the equipment you’ll need to get better audio quality. In this lesson, we leave hardware purchases behind to talk about acoustic treatment. You’ll learn about noisy distractions, both coming from outside your studio space as well as within it, and how best to conquer them. You’ll find out about soundproofing materials of every type and cost, including some that are nearly (or completely) free.
Lesson 6 – Miking Technique. In this lesson, I’ll guide you through the physical setup of your equipment and show you how to use it. We’ll discuss microphone placement and addressing, setting levels, food and beverage choices for recording, breath control, minimizing the noise you produce when recording, and more.
Lesson 7 – Recording Your Audio. Now that our equipment is bought and set up, we’re going to get into the actual recording process. I’ll be using Adobe Audition in this lesson, but its core tenets apply regardless of the audio tool you use to record.
Lesson 8 – Audio Tools Round-up. In the previous lesson, you learned about recording footage using my recording tool of choice, Adobe Audition. Now we’ll be “auditioning” three other applications that are a bit easier on the wallet: Camtasia, Audacity, and Acoustica.
Lesson 9 – Beating reverb in post. Bonus lesson! You won’t always have the luxury of recording in an acoustically treated space. In our final lesson, you’ll learn how to overcome this, and knock out reverberation during the editing process by using a special plugin.
The course is about 3 hours in length, so not a huge time commitment for you. And the best part is that both the equipment recommendations as well as the soundproofing, editing, and recording techniques won’t add time onto your process (it’s all very set it and forget it). In fact, it’s going to save you time, because you’ll no longer need to futz around in the editor trying to figure out how to salvage a decent signal from your crappy original recording.
You get all six core lessons, plus three bonus lessons, totaling three hours of amazing content, for a mere $59.
Still not convinced? Check out reviews below:
Excellent well-constructed course content. It would have been nice to learn more about
1. Noise Removal
2. Compressor
3. Equalization - Bass Boost
4. Equalization - Treble Boost
5. Normalize
6. Hard limiter
7. Normalize
settings but that is a very small point. A magnificent course. Thank you.
Noted, Christopher. Will add more detail on these topics in the next edition! -Daniel
Thank you Daniel.
I knew it would be worth getting this course it even though I have been studying Audio for 16 months. I have no problem paying to move me further in my business goals.
This course helped me in several ways that will benefit my audio.
As I have found that if your audio is no good, you might as well re-record.
Thank you again, always learning from the Guru.
Mike Burke
Central California
As good as Camtasia is for the video elements, there is a big gap in the audio capabilities provided. Daniel's Video Narration Wizardry covers how we can get the best sound by choosing the right equipment and methodologies to suit our budget. The knowledge gained has improved the audio quality of my videos tremendously! Viewers have commented that they were previously disengaging because of poor audio quality - but no more! I really recommend this training...
Good concrete information. Well done.
I am not a Camtasia Newbie. I have been using Camtasia since 1999, its birthdate. I have created over 800 videos for the proprietary LMS of a major textbook publisher. And I have used many of the helpful tips I have learned from Daniel to provide better audio. Daniel's Video Narration Wizardry is a comprehensive set of lessons to effectively and efficiently create stellar audio,
This is all backed by a 100%, no-questions-asked money-back guarantee.